Do you want to know how to set up Apple Pay on your iPhone? If yes, then read this blog further to know How to Set Up Apple Pay in iPhone. At present, the mobile payment solution has become very essential. Apple Pay is the right option if you are looking for a secure payment solution with more popularity.
It is available on all iOS devices and gives an extraordinary user experience. Go through the blog further to set up Apple Pay on your iPhone without issues. Knowing about the app before setting it up can help you make better decisions. Hence, look below and find why Apple Pay is the best payment solution.
Why Apple Pay?
Before getting into the setup process, here you can find why people prefer Apple Pay over any other iPhone payment solution. Apple Pay provides a secure, contactless, and convenient way to make better payments in apps, online, and in stores. It eradicates the need to carry physical cards and reduces the chances of losing them. It is now accepted at various retailers and supports many debit and credit cards. Hence, using Apple Pay is the most versatile payment option.
Simple Steps To Set Up Apple Pay in iPhone

Please look below and explore How Do I Set Up Apple Pay in iPhone.
Step 1 – Check Compatibility
First, you must ensure your iPhone is compatible before set up Apple Pay in iPhone. The iPhone devices compatible with this app are iPhone 6 and later models, including iPhone SE (1st generation) and newer. If you want to check your iPhone model, you can go to settings > general > about > model name.
Step 2 – Update Your iPhone
It is essential to keep your iPhone’s OS up to date to ensure better functionality of this application. You can check the regular updates by going to settings > general > software update. When there is any update available, you can install it .
Step 3 – Add Your Card
Here, you can go through the process of setting up Apple Pay:
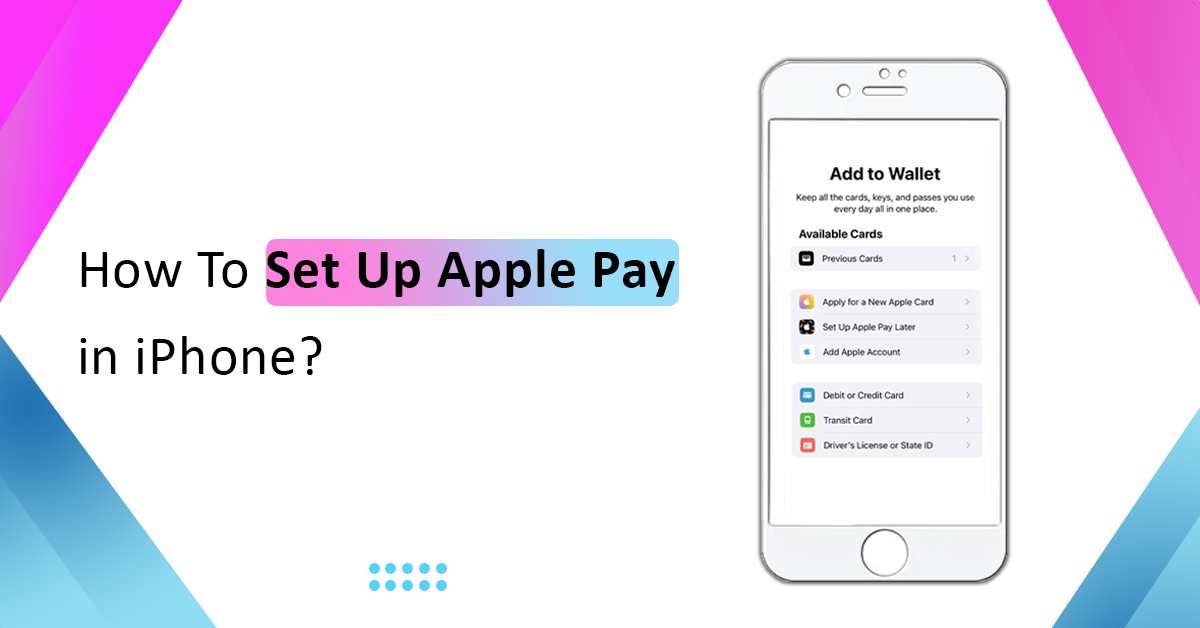
- At first, you need to open Apple Pay on your iPhone.
- Then click the ‘+’ sign to add the new card.
- Add your credit or debit card by following the on-screen instructions. You can enter your card details or use the camera to capture the information.
Next, you have to move to the verification process.
Step 4 – Verify Your Card
You must need to verify your card after you have added it. It involves receiving the verification code via email or SMS from your card issuer or bank. Enter that code in Apple Pay to complete the verification process.
Step 5 – Set The Default Card
When you have added many cards, you can set one as the default card for convenience. For that, you can follow the below-mentioned steps:
- At first, you must go to settings > Wallet & Apple Pay
- Choose the preferred card as the default under the ‘transaction defaults’ section
By doing so, you can set the default card very effectively.
Step 6 – Start Using Apple Pay
Finally, you have set up Apple Pay on your iPhone successfully. Check further to know the process of using it.
In Stores
You can hold your iPhone near the payment terminal and authenticate using Touch ID, Face ID, or your device’s passcode.
- In Apps & Online:- While purchasing around the supported websites or apps, choose Apple Pay as the best payment method and follow the prompts.
- Peer-to-Peer Payments:- Send and receive money via Apple Pay Cash around the messages app. It is the best way to share your expenses and split bills.
Conclusion:
From the scenario mentioned above, now you have explored How Do I Set Up Apple Pay in iPhone. Apple Pay focuses more on privacy and security. It will never store your card numbers on the Apple servers. Now, without further delay, make your payment or transactions easy with the help of this most effective wallet app. You can use it everywhere today without any restrictions.


