What is Trezor Wallet?
In this fast-moving and modern world, more inventions and new technologies are useful for people. People can use these are technologies in their daily life and enjoy them. Likewise, the arrival of cryptocurrencies and wallets has made people go to the next level of trade and transactions. They use these cryptocurrencies to complete transactions, and they can trade the coins they like. The Trezor crypto wallet is the most famous and likely one among all the wallets by its customers. People setup trezor hardware wallet to save the cryptocurrency coins in a digital form.
Trezor is nothing but a type of hardware wallet, and it is helpful to provide advanced security. It is also beneficial to handle the bitcoin and cryptocurrencies private keys. Unlike some other traditional cold storage methods, this Trezor makes secure payments without exposing your private keys. The Trezor Crypto Wallet is helpful to keep all your coins in a fast way. It has some code, and the hackers cannot know the code to hack your coin. So, you must be aware of using the code without knowing anyone.
How to Use Trezor Crypto Wallet?

Most people in the higher ranks, business people, multi-millionaires, and those who like to invest more money they have with them use the Trezor wallet to save their coins. Some of the exciting features of this wallet include offline backup, hardware compatibility, recovery speed and firm verification. Other features are secure, multi-currency support, premium support and U2F authentication. These are the fantastic features that are available by using this wallet. So, try to use this popular wallet among people, and you can choose the right one you like most.
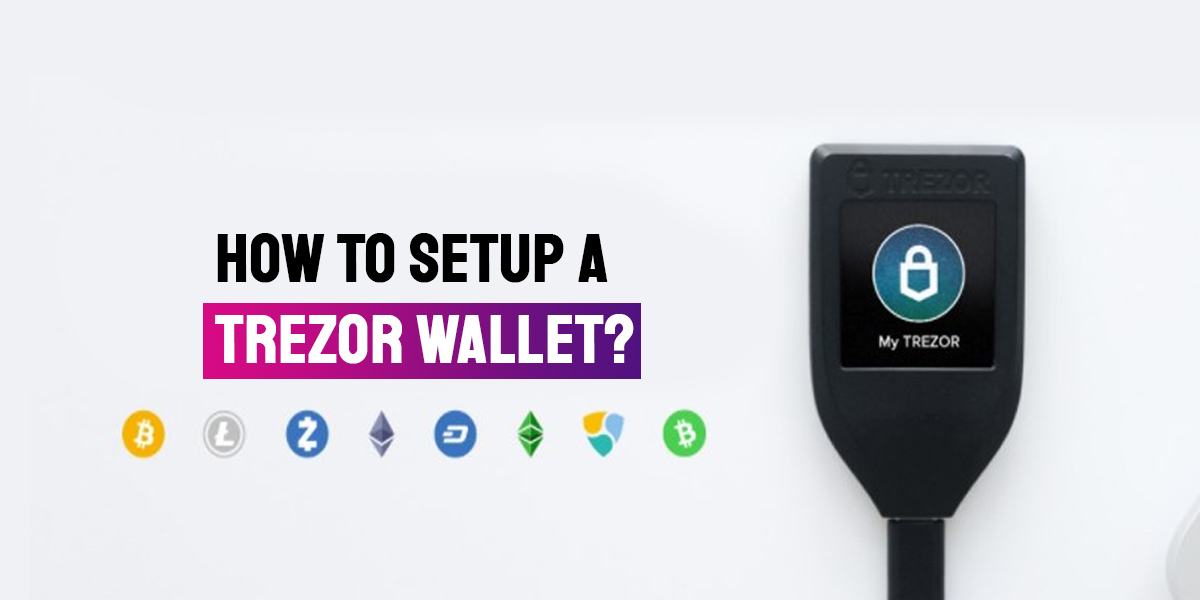
How to Setup Trezor Crypto Wallet?

Most people are eager to buy this Trezor Wallet , and after buying it, they have some doubts. These doubts may be how to setup Trezor Hardware Wallet, and setting up a Trezor is an easy way. So here are some steps are given for the persons who like to set up the Trezor, and they are:
Step 1: you must connect the Trezor device to your computer Have to click the trezor to the computer by using the USB cable provided for you. In the trezor you wallet screen, you must see a lock icon and an instruction asking you to go to the trezor.io/start.
Step 2: you have to go to the trezor.io/start Then go to the trezor.io/start and learn how the trezor pin and the recovery seed work. Then you can choose if you need to subscribe to the newsletter or not and then continue to set up your trezor device.
Step 3: you need to install the wallet By going to wallet.trezor.io, you can make an order for your device to communicate with your trezor wallet. In addition, you can install the trezor chrome extension or the Trezor Bridge for your operating system.
Step 4: you have to install the latest firmware No firmware installation is there when the time of devices hipping for some safety reasons. So you have to click the yes, install option to begin the firmware structure for the first time. Then make a cross-check about the fingerprints of the firmware on the browser screen against the trezor. And you have to make sure the matches are correct and click continues to precede the process.
Step 5: Reconnect the trezor and give the name for the device You have to plug it in and then go to the wallet. trezor.io and provide the name you like. After typing the character in that place, you must click the continue option to go for the following process.
Step 6: you have to set up the PIN To setup Trezor Hardware Wallet a PIN is a confusing and challenging task. You must be stable and take your own time to make this set up. But once you have finished this, it will be easy, and you can see a 3×3 grid with dots on your browser. You have to select the dots and then click continue. Then you can see a 3×3 grid with numbers on your trezor. Finally, you have to set your PIN and enter and confirm your number twice.
Step 7: need the write down the recovery seeds. Next, you can get a display with a unique combination of 24 words in your trezor device. These words will allow you to recover your account if you lose your device. If you think you may forget the comments, you can write them for them in the recovery seed card provided for you. You have to verify it and click finish on your trezor device.
Step 8: you have to enter the PIN to access your wallet You must go to the browser, enter the PIN, hit enter and then access your wallet the first time. After that, you can access any other cryptocurrency wallets, and this device supports bitcoin, bitcoin cash, dash, and Ethereum. Then you have to customize your trezor home screen device and access some of the exciting features in this device. And the features of the PIN can wipe your trezor device. You can edit the device settings, lock the machine and forget the device. Then connect trezor to Dropbox access features, wallet and the transactions. Add a new account before you use the device.
Why do We Need to Use of Crypto Wallet?

Yes, the Trezor wallet is necessary to safeguard the coins you have in a digital form. It is also a good idea to have a wallet, and it has many security features. If anybody stoles your wallet, you can find your wallet and still recover your funds. The main thing that is you must have your 24-word recovery password and should not reveal it to anyone. The Trezor wallet is a reliable and good one in this world. People use it in more numbers because of its safety features, and you can use it without any doubt.
What do You have to Know About Purchasing the Trezor Crypto Wallet?
If you are eager to buy a wallet, you must follow various steps, choose the right place, place an order and send money to the dealer. After receiving the item, you must first notice the security seal on the box is in an open state. If you find it to have tampered or any doubts about that parcel, you must hire the dealer to get a new one. Next, you can see the things inside the parcel like the Setup Trezor Hardware Wallet to recovery seed card, lanyard, instruction paper, and USD to micro USB cable. These are the things inside this parcel, and if you do not find any one of these things, you can resend it to the particular dealer.


